Gibsons come with mass produced pcb control circuits. Which is fine, certainly makes it easier to maintain a standard quality and if anyone has seen the awful wiring they had in the 70s you'll understand why...
The downside of this is that it's much harder to modify just a part of the circuit such as fitting a split coil switch.
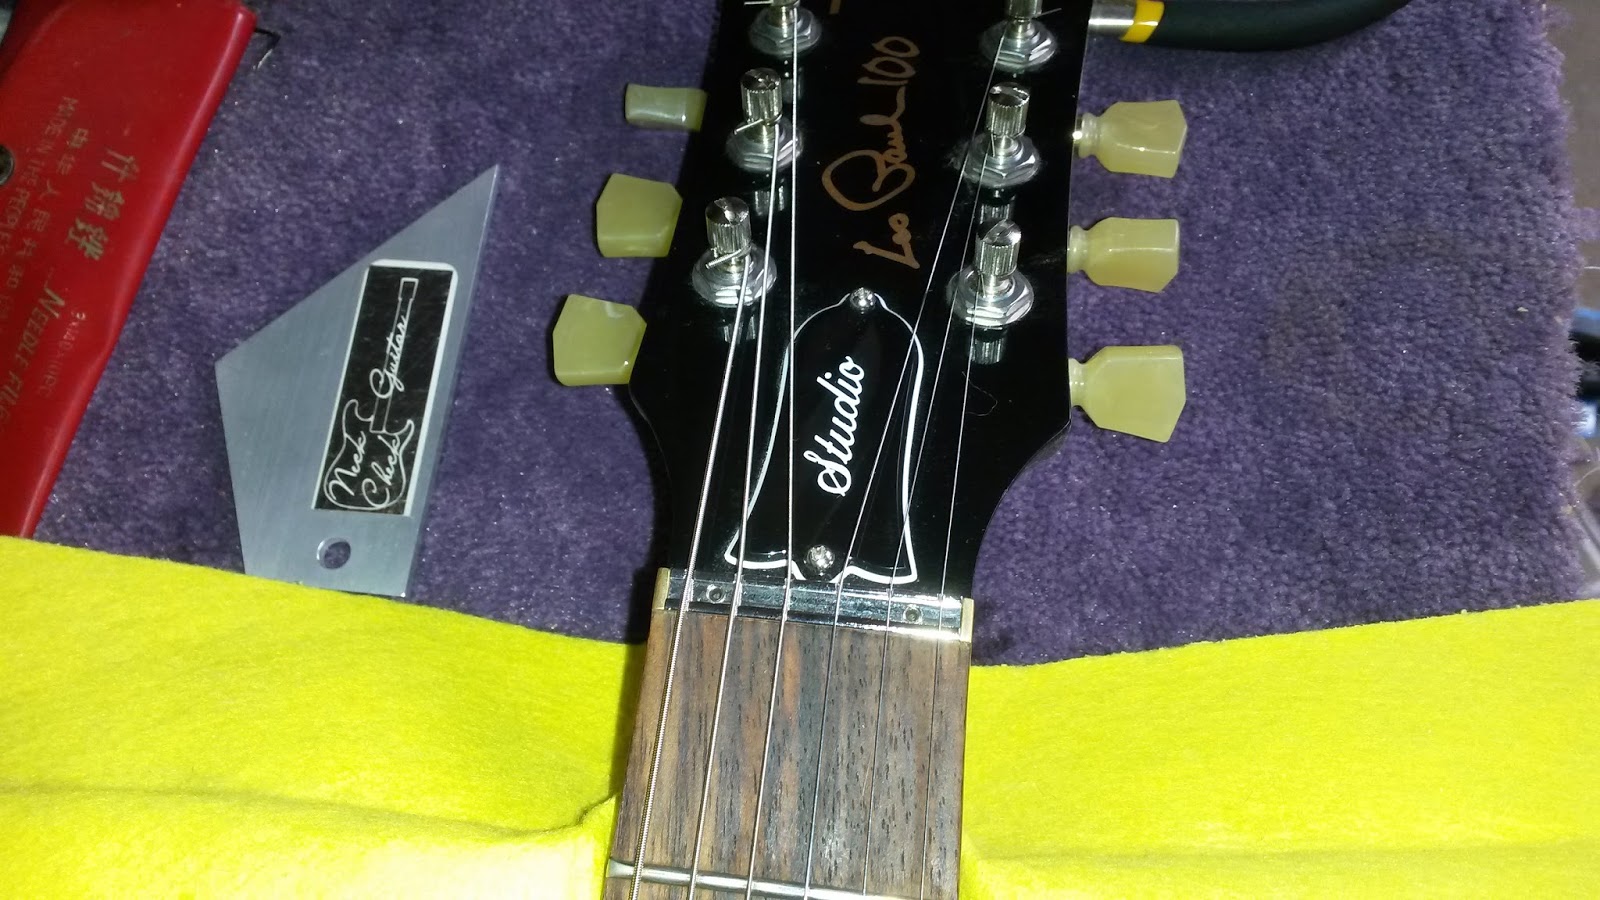
So this is me replacing the wiring...
The molex style connectors make it easy to remove the whole of the pcb but once you've snipped them off you're well and truly committed to the rewire!
Mass produced pcb vs hand wired custom loomwith cts pots and orange drop caps and trim pots to adjust the amount of coil cut when the switch is pulled.
All wired in and working nicely. The trim pots allow for adjusting the amount of coil cut. When you turn a humbucker into a single coil they often sound thin and weedy, this prevents that thus allowing a good range of sounds to be gained from full humbucker to a more true single coil sound.
Replacing a Gibson zero fret nut
Wednesday, 8 March 2017
Sunday, 28 February 2016
Replacing a Gibson zero fret nut
With the introduction of the Min-E-Tune and the G-Force robo tuning system Gibson also brought us the height adjustable zero fret nut. Now originally these were distributed in brass however as many people have found brass is too soft and very soon get grooves worn into it that causes the strings to ping out of the groove when you bend strings. This is really quite annoying!
So what can be done? Well after liaising with Gibsons customer care rep it turns out they produced a much harder substitute which they will send out to you free of charge.
This blog is about how I changed it and how easy it is...
First of al remove the strings
Get the new replacement part
Simply lift out the brass one
Drop the new one in
Transfer the height adjustment grub screws
Get a fret rocker or any straight edge that can extend over the first two frets. Using the allen key provided by Gibson when you got the guitar adjust the height by turning the grub screws until the rocker no longer rocks either way.
Re-string, tune up and re - adjust the height as required. If you need to go higher it will be prudent to slacken the strings slightly first.
Once your happy with it you're done. Took me about 10 minutes from start to finish!
Subscribe to:
Posts (Atom)